Commercial Bench Press Bench Manufacturer | OEM Wholesale Supplier
A wobbling bench press bench rarely means a bent frame—it almost always points to loose floor anchors, worn leveling feet, or missing thread-locking compound on structural bolts.
Commercial bench press benches in powerlifting gyms fail predictably under heavy, repetitive loads, and the root cause is almost never a manufacturing defect. It is deferred maintenance, improper installation on unprepared floors, or environmental neglect—especially in humid or coastal climates. Diagnosing frame wobble, enforcing a disciplined bolt torque routine, preventing rust on untreated steel, and replacing worn pads and J-cups on schedule will eliminate the vast majority of downtime. These are maintenance problems, not product problems, and they are entirely preventable.
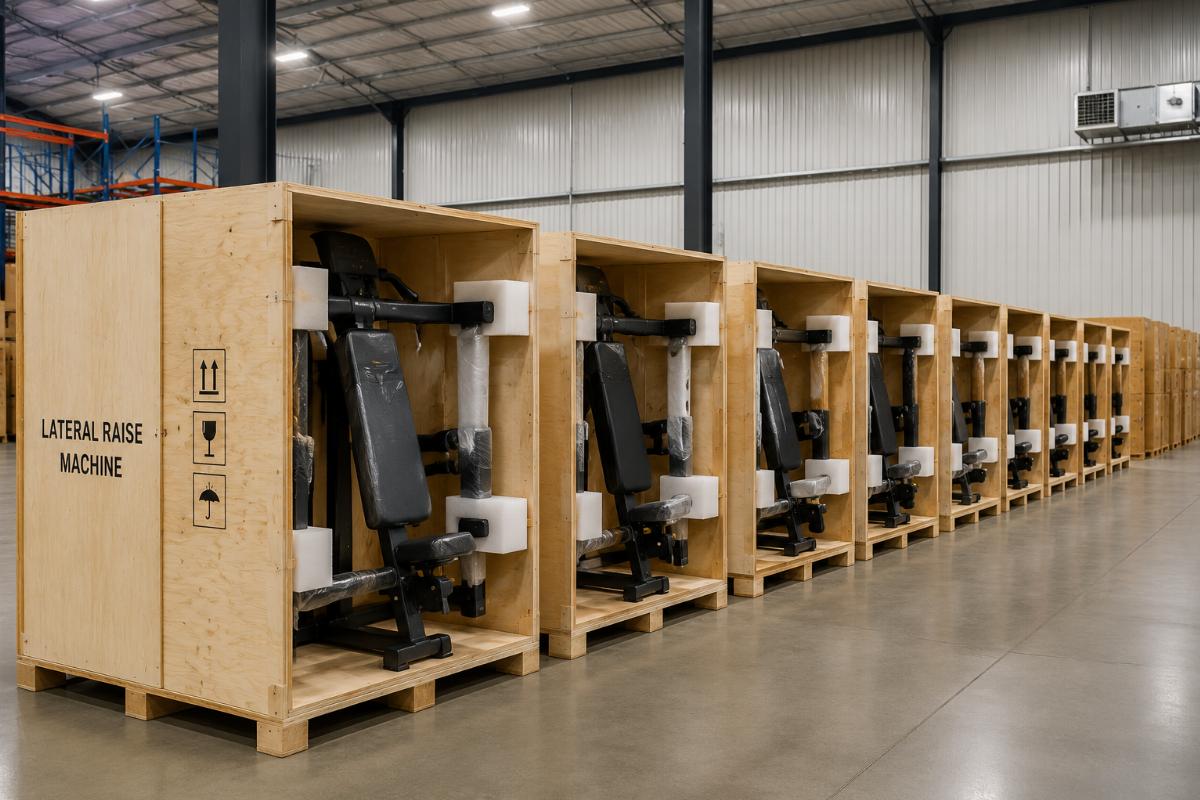
I still remember a full container of flat benches we shipped to a gym chain in the Gulf region years ago. The buyer had opted for standard cold-rolled steel frames without powder coating to cut costs. Within half a year, the humid, salt-laden air had bubbled the paint, seized the adjustment bolts, and corroded the floor anchors. The entire batch was rejected. The return freight alone wiped out the margin on that order and then some. That shipment taught me that a bench press bench is only as reliable as its surface treatment, its fastener protocol, and the floor it sits on. Since then, I have walked through gym floors across the Middle East, Africa, and Southeast Asia, and the pattern repeats: the benches that fail first are the ones installed carelessly and maintained reactively. [NEED_CITE: root cause distribution of powerlifting equipment failures per gym maintenance surveys]

Let me walk you through how to diagnose, maintain, and extend the service life of a commercial bench press bench in a high-traffic powerlifting environment.
Why Do Commercial Bench Press Benches Fail in Powerlifting Gyms?
The three dominant failure modes are frame wobble, bolt loosening under vibration, and corrosion at stress points—and all three are rooted in installation or environment, not in the steel itself.
A powerlifting gym bench press bench endures a unique stress profile. Lifters load heavy, lower with control, and often bounce the bar off the chest. The frame absorbs dynamic lateral and vertical forces thousands of times per week. Add chalk dust, sweat, humidity, and inconsistent floor surfaces, and you have a perfect storm for premature wear. [NEED_CITE: fatigue stress patterns on commercial gym bench frames under repetitive loading]
In a CrossFit box we supplied in Southeast Asia, the owner called within months complaining that the J-cups were slipping and the pads felt "mushy." On inspection, the real issue was chalk and moisture buildup inside the J-cup holes, which prevented the safety pins from seating fully. The pads, meanwhile, were made from low-density foam that compressed permanently under heavy loads. The frame itself was fine. The failures were entirely about consumable components and environmental contamination—not structural integrity.
The key takeaway: a bench press bench does not fail suddenly. It degrades gradually through small, compounding oversights—loose anchors, missing thread-locker, untreated welds, worn vinyl. Catching these early is the difference between a ten-minute adjustment and a full frame replacement.

How to Diagnose Frame Wobble and Structural Instability?
Before you assume the frame is bent, check the floor anchors, the leveling feet, and the gusset welds—in that order. A bent frame is the rarest cause of wobble.
Most gym operators see a bench press bench rocking and immediately suspect a warped or cracked frame. In practice, the overwhelming majority of wobble cases trace back to three simpler causes:
- Floor anchor bolts not torqued to spec or installed in unlevel concrete. If the floor is uneven, the frame will rock regardless of how stiff the steel is. Always verify floor flatness before anchoring. Use a spirit level across the length and width of the bench footprint. If deviation is noticeable, shim or grind the floor first. [NEED_CITE: floor flatness tolerance requirements for anchored gym equipment per ASTM standards]
- Leveling feet worn, missing, or not adjusted. Rubber or nylon leveling feet compress over time, especially under heavy static loads. Check each foot for cracks, flattening, or complete absence. Replace in sets, not individually, to maintain even contact.
- Gusset welds cracking at high-stress junctions. Inspect the welds where the uprights meet the base frame and where the cross-bracing connects. Look for hairline cracks, especially on benches used for heavy rack pulls or pin presses. A cracked weld can often be re-welded in place if caught early.
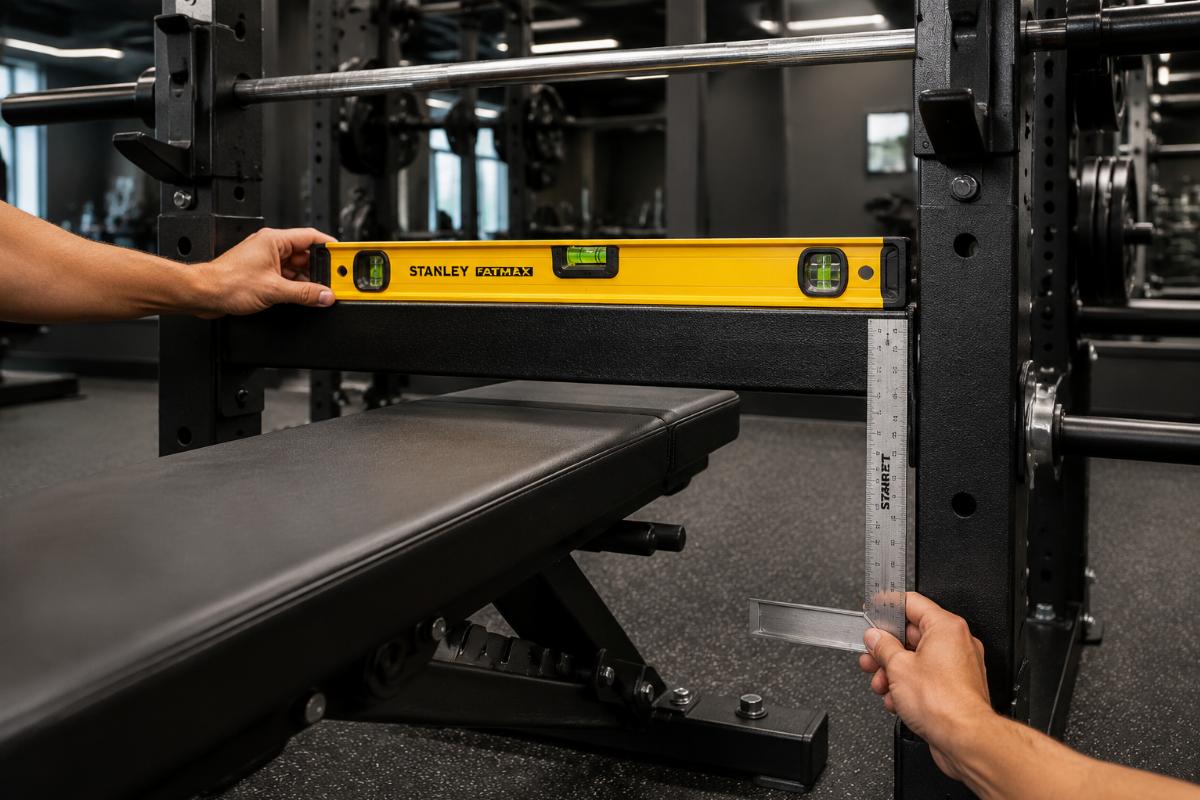
Step-by-step frame alignment check:
- Place a spirit level on the frame rails, both lengthwise and crosswise.
- Check diagonal measurements from corner to corner—unequal diagonals indicate a twisted frame.
- Use a machinist square at the upright-to-base junctions to verify 90-degree alignment.
- Tighten all anchor bolts to the specified torque in a star pattern, not sequentially.
- Re-check level after torquing. If wobble persists, inspect leveling feet and gusset welds.
A distributor in West Africa once received a container of benches and installed them directly on an uneven concrete slab without shimming. Under loads exceeding 200 kg, the frames shifted visibly during heavy presses. The fix was not new benches—it was drilling out the anchors, leveling the floor sections, and re-anchoring with the correct torque. [NEED_CITE: anchor bolt torque specifications for M10 and M12 structural fasteners in gym equipment]
What’s the Correct Bolt Maintenance Routine for High-Use Benches?
Periodic hand-tightening is not enough. Without thread-locking compound and a defined torque schedule, vibration will loosen even properly torqued fasteners within weeks.
This is perhaps the most misunderstood aspect of bench maintenance. Gym staff often believe that "tightening the bolts every few months" is sufficient. It is not. The dynamic loads from heavy pressing create constant micro-vibration that works fasteners loose over time. A bolt that feels tight to the hand may be well below its specified clamping force.
A proper bolt maintenance protocol for a commercial bench press bench includes:
- Quarterly torque checks on all structural fasteners. Use a calibrated torque wrench, not an impact driver. M10 bolts on bench frames typically require a specific torque range, and M12 bolts require higher values—always refer to the manufacturer’s specification sheet. [NEED_CITE: torque specification ranges for M10 and M12 structural bolts on commercial bench frames]
- Application of medium-strength thread-locking compound on all critical fasteners during assembly or re-torque. This is non-negotiable for any bench used in a commercial setting. Thread-locker prevents vibration-induced loosening and also seals the threads against moisture ingress.
- Replacement of any stripped, stretched, or corroded bolts immediately. Do not re-use a bolt that has been over-torqued or shows visible thread damage. Keep a spare hardware kit on site—our benches ship with one included, containing replacement bolts, nuts, washers, and a small tube of thread-locker.
- Lubrication of adjustable backrest mechanisms. The pivot pins and adjustment holes on incline/decline benches need periodic greasing. Use a lithium-based grease, not WD-40 or similar penetrating oils, which attract chalk dust and create a grinding paste.
| Maintenance Task | Frequency | Tool / Material | Notes |
|---|---|---|---|
| Structural bolt torque check | Quarterly | Calibrated torque wrench | Star-pattern tightening sequence |
| Thread-locker reapplication | Annually or after bolt replacement | Medium-strength anaerobic compound | Apply to male threads only |
| Backrest pivot lubrication | Quarterly | Lithium-based grease | Clean old grease and chalk first |
| Leveling foot inspection | Quarterly | Visual + manual check | Replace in full sets if worn |
| Anchor bolt verification | Semi-annually | Torque wrench | Re-torque if floor settlement suspected |

How to Prevent Rust and Corrosion in Humid Gym Environments?
Surface treatment quality, ventilation, and a simple wipe-down protocol determine whether a bench frame lasts years or months in humid climates.
Rust is the silent killer of gym equipment in tropical, coastal, or poorly ventilated facilities. I mentioned the Gulf region case earlier— untreated cold-rolled steel in high humidity is a recipe for rapid corrosion. The difference between a frame that survives and one that fails is almost entirely about surface protection and environmental management.
Key rust prevention measures for a commercial bench press bench:
- Powder-coated frames resist corrosion substantially longer than painted or bare steel. The powder coating process creates a thermally bonded layer that is far more resistant to chipping, scratching, and moisture penetration than conventional paint. In salt-air environments, this difference becomes critical within months, not years. [NEED_CITE: corrosion resistance comparison between powder-coated and painted steel frames in humid environments]
- Ensure adequate gym ventilation. High humidity accelerates corrosion on any metal surface. If the gym lacks HVAC or dehumidification, consider installing industrial dehumidifiers in the free-weight area. The cost is minor compared to replacing corroded equipment.
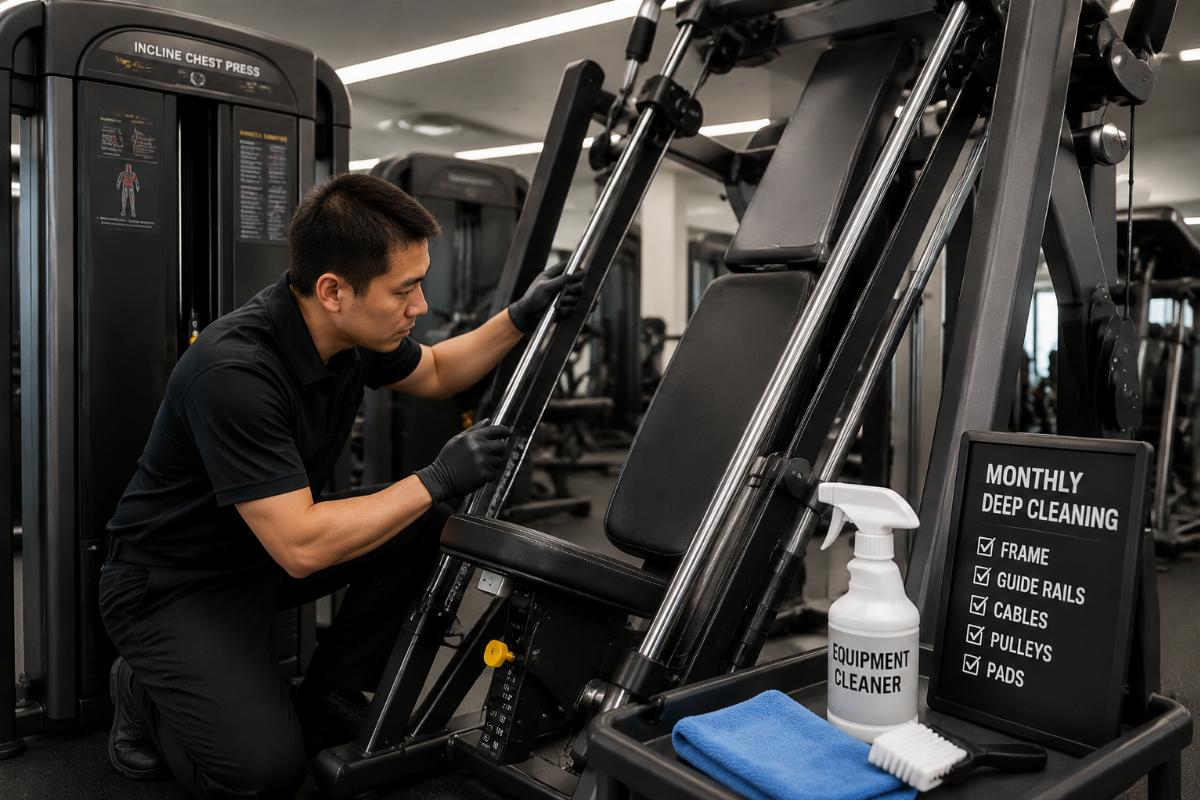
- Implement a daily wipe-down protocol. Sweat is corrosive. Chalk holds moisture. A quick wipe of the frame rails, uprights, and base with a dry or slightly damp cloth after closing hours removes the salt and moisture that drive rust. This is especially critical on the underside of the frame and around weld joints, where moisture pools invisibly.
- Inspect weld zones and bolt holes regularly. These are the first places rust appears, because the coating is thinner or disrupted during manufacturing. Touch up any chips or scratches in the powder coating promptly with a matching touch-up paint.
A gym chain in a coastal Southeast Asian city noticed rust spreading on the base frames of their benches within a short period. Investigation revealed that the cleaning crew was using wet mops near the equipment and never drying the frames afterward. The fix was simple: switch to dry microfiber cloths for daily cleaning and add a monthly inspection of the frame undersides. No equipment was replaced—just the cleaning protocol changed.

When Should You Replace Pads, J-Cups, and Safety Components?
Wear indicators are visible and measurable—if you wait until a pad tears or a J-cup fails under load, you have already gone too far.
Pads, J-cups, safety pins, and flip screws are the consumable components of a bench press bench. They wear out with use, and their failure can create serious safety hazards. A torn pad exposes foam to sweat and bacteria. A worn J-cup allows the barbell to shift or slip during a heavy press. A bent safety pin may not catch a failed lift.
Replacement guidelines:
- Pads: Replace when the vinyl shows cracks, tears, or when the foam no longer rebounds after compression. Commercial-grade pads use high-density foam (typically 2–3 lb/ft³ range) that resists permanent compression far better than low-density alternatives. Overly soft pads may feel comfortable but destabilize heavy lifts and break down faster. [NEED_CITE: pad foam density and vinyl thickness benchmarks for commercial gym bench durability]
- J-cups: Inspect the interior lining (UHMWPE or rubber) for wear, chalk buildup, or deformation. Replace when the barbell no longer sits snugly or when the lining is visibly compressed. In high-use facilities, J-cup liners may need replacement annually.
- Safety pins and flip screws: Check for bending, surface pitting, or difficulty inserting/removing. A pin that does not slide freely into the hole is compromised. Replace immediately—do not attempt to straighten a bent safety pin.
- Adjustable backrest mechanisms: Test the adjustment pin and hole alignment. If the backrest wobbles excessively in any position, the pin or the hole plate may be worn. Replacement kits are available for most commercial benches.
| Component | Inspection Frequency | Replacement Trigger | Typical Service Life (High-Use) |
|---|---|---|---|
| Pad (vinyl + foam) | Monthly | Cracks, tears, permanent compression | Noticeably extended with high-density foam |
| J-cup liner | Monthly | Wear, deformation, chalk buildup | Substantially extended with regular cleaning |
| Safety pins / flip screws | Monthly | Bending, pitting, stiff insertion | Replace immediately if compromised |
| Backrest adjustment pin | Quarterly | Excessive wobble, misalignment | Verifiable with periodic alignment check |

Conclusion
A commercial bench press bench is a simple piece of equipment, but it demands disciplined installation and maintenance to perform safely under powerlifting loads. Frame wobble is almost always an anchoring or leveling issue, not a bent frame. Bolt loosening is prevented by thread-locker and torque checks, not by hand-tightening. Rust is defeated by powder coating, ventilation, and wipe-downs. And consumable components—pads, J-cups, safety pins—must be inspected and replaced on schedule, not after they fail. These are not complex procedures, but they require consistency. The benches that last decades in commercial gyms are the ones that receive attention every quarter, not the ones that are installed and forgotten.