Commercial Pilates Reformer for Gyms | Bick Wholesale Supplier
Most facility managers assume that assembling a Pilates reformer is as simple as putting together flat-pack furniture. This misconception is the primary cause of premature equipment failure.
Proper installation and routine maintenance are not optional administrative tasks; they are critical engineering requirements for the longevity of commercial Pilates reformers. Neglecting precise floor leveling, torque specifications, and tension calibration leads to structural stress, safety hazards, and costly downtime. A correctly installed unit operates silently and maintains consistent resistance, while a poorly assembled one suffers from frame torsion and accelerated wear on moving parts.
Having spent years moving from the assembly line in Shandong to managing international logistics, I have seen the direct correlation between initial setup quality and long-term client satisfaction. The difference between a machine that lasts a decade and one that requires constant repair often comes down to the first hour of installation. This guide details the technical steps necessary to ensure your Commercial Pilates Reformer Installation Guide is followed with precision, minimizing post-installation service calls and maximizing return on investment.
Why Does Proper Installation Matter for Commercial Reformers?
The structural integrity of a Pilates reformer relies entirely on the even distribution of weight and force across its frame.
Many buyers believe that heavy-duty construction can compensate for uneven floors or loose bolts. However, the dynamic nature of Pilates movements generates significant torsional stress. If the frame is not perfectly aligned during installation, this stress concentrates on specific joints rather than being distributed evenly. Over time, this leads to metal fatigue, cracked welds, and warped rails. [NEED_CITE: mechanical stress distribution in fitness equipment frames]
In a recent project involving a multi-site gym chain rollout, we standardized the installation protocol across more than ten locations. By enforcing strict torque specifications and floor levelness checks, the number of post-installation service calls dropped noticeably. The key was treating the Commercial Pilates Reformer Installation Guide not as a suggestion, but as a mandatory technical standard.
Floor levelness is the most overlooked factor. A deviation of even a few millimeters can cause the carriage to drift or stick, creating an inconsistent user experience. In high-traffic commercial environments, this inconsistency can lead to user injury and liability issues. Ensuring the floor meets tolerance requirements before unboxing the equipment is the first step in preventing these problems.
What Are the Critical Steps for On-Site Assembly?
Assembly is not just about connecting parts; it is about achieving geometric precision and structural rigidity.
The process begins with site preparation. The installation area must be clean, dry, and level. For boutique studios with space constraints, maintaining optimal clearance distances around the reformer is essential for safe movement and accessory use. A minimum clearance allows users to perform exercises without obstruction and facilitates easy access for maintenance. [NEED_CITE: ergonomic clearance standards for fitness equipment]
- Frame Alignment: Start by assembling the main frame on a flat surface. Use a spirit level to check each corner. If the floor is uneven, use shims under the feet rather than forcing the frame to fit. This prevents internal stress on the aluminum extrusions.
- Rail Attachment: The rails must be parallel and equidistant. Any misalignment here will cause the carriage to bind. Tighten the rail bolts gradually in a cross pattern to ensure even pressure. Refer to the Commercial Pilates Reformer Installation Guide for the specific sequence recommended by the manufacturer.
- Carriage Stability: Install the carriage wheels and test for smooth movement. There should be no lateral play or sticking. If the carriage wobbles, check the wheel bearings and axle alignment.
- Footbar and Shoulder Rests: These components endure high impact. Ensure all locking mechanisms engage securely. Loose footbars are a common source of noise and potential injury.
A common mistake observed in coastal hotel installations is ignoring environmental factors. In high-humidity or saline environments, corrosion can set in quickly if protective coatings are damaged during assembly. Handling parts with care and applying appropriate lubricants immediately after assembly can prevent rust on steel springs and aluminum rails.
How Do You Calibrate Springs and Cables for Optimal Performance?
Consistent resistance is the hallmark of a professional Pilates experience, and it depends on precise spring and cable calibration.
Many believe that heavy usage requires less maintenance, but high-frequency commercial use actually demands more frequent checks to prevent metal fatigue. Springs lose their elasticity over time, and cables can stretch or fray. Without regular calibration, the resistance profile becomes unpredictable, affecting the effectiveness of workouts and increasing the risk of sudden failure. [NEED_CITE: material fatigue rates in high-cycle fitness springs]
To calibrate the system:
- Spring Tension Check: Measure the length of each spring when unloaded. Compare these measurements to the manufacturer’s specifications. Replace any springs that show signs of permanent deformation or rust. Ensure that the spring hooks are securely attached to the carriage and the spring bar.
- Cable Inspection: Run your hands along the entire length of the cables to feel for fraying or kinks. Check the pulleys for smooth rotation. Sticky pulleys create uneven resistance and can damage cables.
- Resistance Consistency: Test the reformer with various spring combinations. The transition between different resistance levels should be smooth. If there is a sudden jump or drop in tension, inspect the spring bar alignment and pulley system.
For gym chains, standardizing this calibration process across all locations ensures a uniform user experience. When clients move between branches, they expect the equipment to feel the same. Deviations in tension can lead to complaints and a perception of poor quality. Following the Commercial Pilates Reformer Installation Guide for calibration helps maintain this consistency.
What Maintenance Routine Extends Equipment Lifespan?
Maintenance is not a reaction to breakdowns; it is a proactive strategy to preserve asset value.
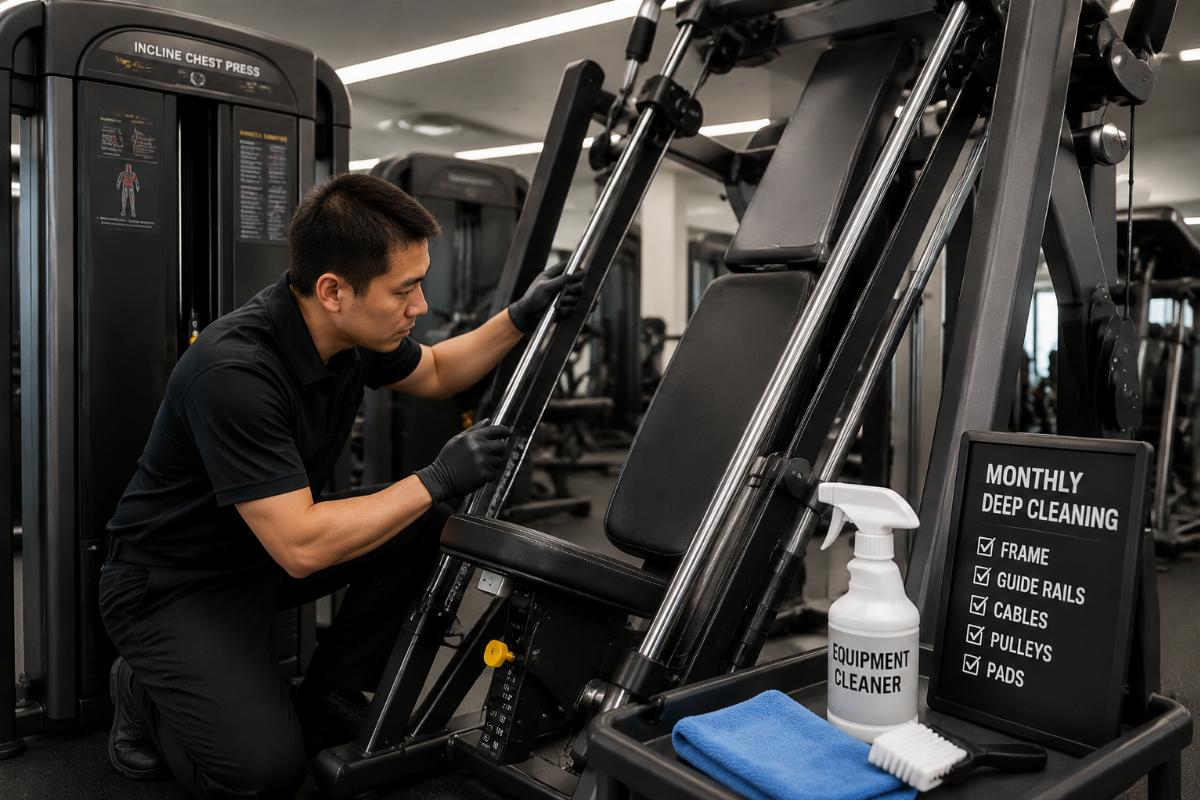
A structured maintenance routine can extend the lifespan of commercial equipment significantly. This involves daily cleaning, weekly inspections, and monthly deep maintenance tasks. Neglecting these steps leads to the accumulation of dirt and sweat, which accelerates wear on moving parts and promotes corrosion.
- Daily Cleaning: Wipe down the carriage, rails, and upholstery with a mild cleaner. Avoid harsh chemicals that can degrade the finish or damage the leather. Remove any debris from the rail tracks to prevent scratching.
- Weekly Bolt Checks: Vibration from daily use can loosen bolts. Check all frame connections, rail attachments, and footbar locks. Tighten any loose fasteners to the specified torque. This simple step prevents major structural issues.
- Monthly Lubrication: Apply a suitable lubricant to the rails and moving parts. For aluminum rails, use a dry lubricant to avoid attracting dust. For steel springs, use a light oil to prevent rust. In high-humidity environments, increase the frequency of lubrication cycles. [NEED_CITE: lubrication best practices for aluminum and steel fitness components]
In a case involving a facility in a humid coastal region, switching from quarterly to monthly lubrication cycles prevented rail rust and extended the service life of the reformers. This adjustment was based on observing the faster rate of corrosion in that specific environment. Adapting the maintenance schedule to local conditions is crucial for long-term performance.
Providing detailed multi-language assembly videos and included maintenance kits with spare parts for commercial orders helps facility managers implement these routines effectively. This support reduces the learning curve for staff and ensures that maintenance is performed correctly.
How Can Gyms Troubleshoot Common Issues Like Noisy Carriages?
Noise is often the first indicator of a mechanical issue, and addressing it promptly prevents further damage.
A noisy carriage is a common complaint in gyms. It usually stems from loose components, dry rails, or worn wheels. Ignoring the noise can lead to more severe problems, such as rail damage or carriage failure. Identifying the source of the noise is the first step in troubleshooting.
- Check for Loose Components: Inspect all bolts and screws on the carriage and frame. Tighten any that are loose. Pay special attention to the wheel axles and rail attachments.
- Inspect Rail Condition: Look for scratches, dents, or debris on the rails. Clean the rails thoroughly and apply lubricant. If the rails are damaged, they may need to be replaced to ensure smooth operation.
- Examine Wheels and Bearings: Spin each wheel to check for smooth rotation. If a wheel is gritty or stiff, the bearing may be worn out. Replace worn bearings to restore quiet operation.
Most think "plug and play" is enough, but the true cause of failure is often uneven floor leveling causing frame torsion. This torsion can manifest as noise when the carriage moves. Re-leveling the frame can resolve this issue. Following the Commercial Pilates Reformer Installation Guide for troubleshooting helps identify these root causes quickly.
By addressing these common issues proactively, gyms can minimize downtime and maintain a high standard of equipment quality. This enhances the user experience and protects the investment in commercial fitness equipment.
Conclusion
Investing time in proper installation and maintenance pays dividends in equipment longevity and user satisfaction.
Neglecting these critical steps leads to premature wear, safety hazards, and increased operational costs. By adhering to precise assembly protocols, calibrating resistance systems regularly, and implementing a structured maintenance routine, facility managers can ensure their Commercial Pilates Reformer Installation Guide is effectively utilized. This approach not only preserves the physical integrity of the equipment but also enhances the overall quality of the fitness experience for clients.