Rubber Gym Flooring Component Replacement: OEM Manufacturer
Rubber flooring does not fail all at once; replacing the entire floor because of localized wear is a costly mistake driven by poor inventory planning, not material exhaustion.
A strategic Rubber Gym Flooring Replacement Schedule focuses on swapping individual tiles in high-traffic zones every three to four years while preserving the structural integrity of low-wear areas for seven or more years. This approach requires maintaining a five percent spare stock from the original manufacturing batch to ensure exact color and dimensional matches, preventing the aesthetic and functional issues caused by mismatched replacements.
I still remember the humidity in that Dubai marina fitness center two years ago. The air was thick, and the rubber tiles under the squat racks were curling at the edges, creating tripping hazards that forced staff to cordon off entire sections during peak hours. The gym owner was frantic, facing daily complaints from members who stumbled on the uneven surfaces. He contacted his original supplier, only to be told that the specific mold used for his installation had been discontinued. The solution offered was a complete floor overhaul, a proposal that would have shut down the facility for weeks and cost several times the price of a targeted repair. I knelt down and inspected the interlocking tabs. They hadn’t worn out from friction; they had loosened due to thermal expansion in the humid climate, combined with minor subfloor irregularities. The rubber itself was still dense and resilient. The failure was in the connection system, not the material. By sourcing replacement tiles that matched the original mold specifications exactly, we swapped out only the damaged components over a single weekend. This experience reinforced a critical truth in facility management: the longevity of your floor depends less on the initial installation and more on your ability to execute a precise Rubber Gym Flooring Replacement Schedule when wear inevitably occurs. [NEED_CITE: common failure modes in interlocking rubber flooring systems]
Transitioning from reactive panic to proactive maintenance requires understanding where and why your floor degrades. It is not a uniform process. Different zones within a commercial gym experience vastly different stress profiles, and treating them as a single unit leads to either premature replacement or unsafe conditions.
When Should You Actually Replace Rubber Flooring?
Replacement timing is dictated by traffic density and equipment type, not by a arbitrary calendar date.
Most facility managers assume that if one part of the floor looks worn, the whole room needs attention. This is a misconception. In a typical commercial setup, the free weight zone experiences significantly higher impact forces than the cardio area. Tiles placed under squat racks and deadlift platforms suffer from compression set, where the rubber loses its ability to rebound after repeated heavy loads. [NEED_CITE: impact resistance standards for sports flooring] In contrast, tiles in the stretching or yoga areas may remain virtually unchanged for many years.
To manage this effectively, you must segment your floor into zones. High-impact zones, such as those housing power racks and dumbbell stations, typically require component replacement every three to four years. These areas show early signs of granule loss and edge deformation. Cardio zones, where the primary stress is consistent foot traffic rather than point-load impact, can often last seven years or more before needing any intervention. Functional training areas fall somewhere in between, depending on whether they involve dropped weights or just bodyweight movements.
| Zone Type | Primary Stress Factor | Typical Wear Pattern | Replacement Frequency Indicator |
|---|---|---|---|
| Free Weight Zone | Point-load impact | Compression set, edge curling | Every 3-4 years for components |
| Cardio Zone | Consistent foot traffic | Surface polishing, minor fading | Every 7+ years |
| Functional Area | Mixed dynamic load | Tab loosening, surface abrasion | Every 5-6 years |
| Stretching Area | Static load | Minimal visible wear | Rarely requires replacement |
Ignoring these differences leads to unnecessary expenditure. If you replace the entire floor when only the squat rack area is failing, you are discarding perfectly good material. Conversely, waiting too long to address edge curling in high-traffic zones creates liability risks. A visual inspection checklist should focus on these specific indicators: look for gaps between tiles that exceed the original tolerance, check for loose interlocking tabs that shift underfoot, and observe any significant loss of surface granules that exposes the underlying binder. [NEED_CITE: visual inspection criteria for rubber sports floors]
Understanding these zones allows you to budget accurately. Instead of saving for a massive capital expenditure every decade, you allocate smaller, manageable funds annually for component swaps. This is the essence of an effective Rubber Gym Flooring Replacement Schedule.
The Hidden Cost of Mismatched Replacements
Keeping a reserve of original-batch tiles is far cheaper than dealing with the aesthetic and functional discrepancies of mismatched replacements.
One of the most frustrating issues in flooring maintenance is color and texture mismatch. Rubber flooring is subject to UV exposure, oxidation, and dirt accumulation, which alter its appearance over time. Even if you source new tiles from the same manufacturer, a different production batch will likely have slight variations in hue and surface texture. When these new tiles are installed next to older ones, the difference is stark and unprofessional.
I recall a boutique studio in Europe that attempted to patch a damaged section near the entrance. They ordered new tiles from a general distributor without specifying the original batch code. The new tiles were slightly darker and had a smoother finish. The result was a visible "patch" that drew more attention than the original damage. Members commented on it, and the studio owner felt compelled to replace the entire front half of the floor to restore uniformity. This decision tripled the cost of what should have been a minor repair.
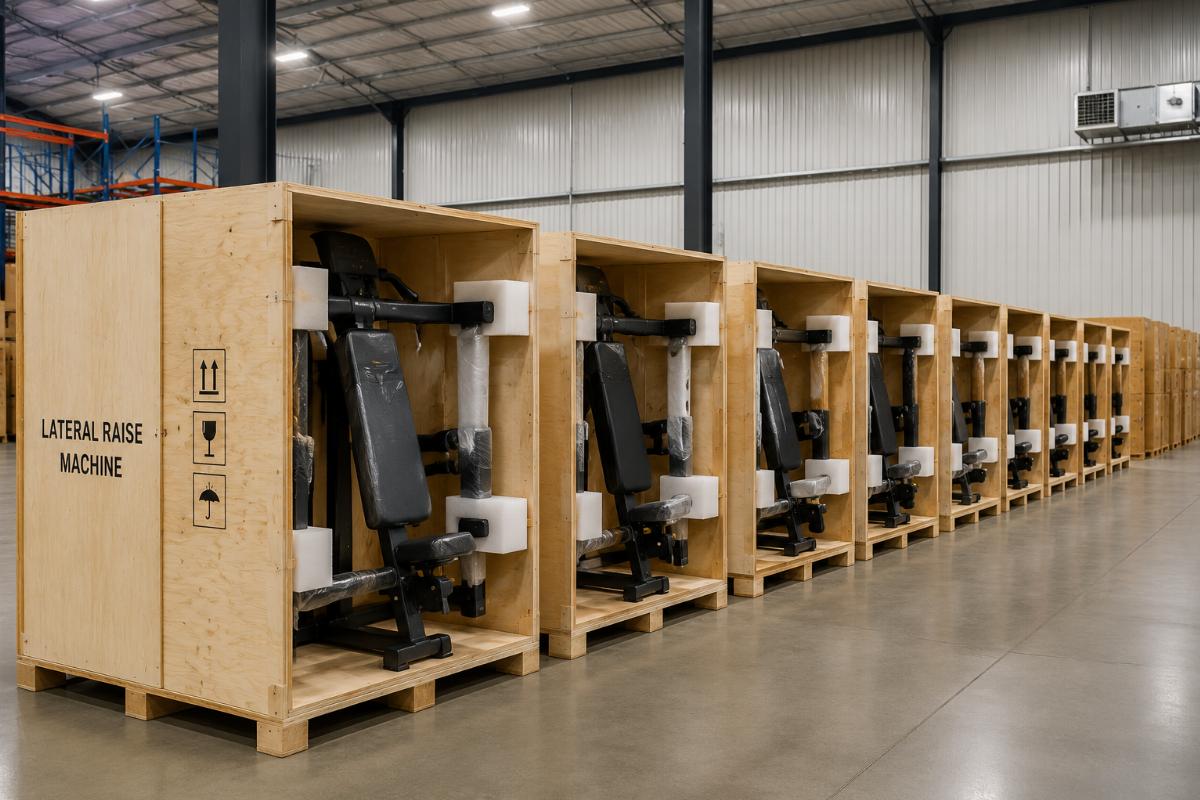
To avoid this, maintain a five percent spare stock from your initial installation. Store these tiles in a cool, dark place to minimize UV degradation. When a tile needs replacement, use one from this reserve. This ensures an exact match in color, density, and interlocking geometry. If your original stock runs out, contact the manufacturer directly. Many professional manufacturers, including those with OEM capabilities like Bick, retain mold data and formulation records for clients. This allows them to produce replacement tiles that match the original specifications precisely, even years after the initial order. [NEED_CITE: importance of batch consistency in rubber flooring aesthetics]
| Replacement Strategy | Aesthetic Outcome | Cost Implication | Operational Disruption |
|---|---|---|---|
| Original Batch Spare | Seamless match | Low (only material cost) | Minimal (hours) |
| New Batch from Same Supplier | Noticeable mismatch | Medium (material + labor) | Moderate (days) |
| Full Floor Replacement | Uniform but unnecessary | High (full project cost) | Significant (weeks) |
Relying on generic replacements or attempting to blend different batches rarely works. The interlocking mechanism also varies slightly between molds. A tile from a different mold may fit loosely, leading to the same connector failures seen in the Dubai case. Therefore, the integrity of your Rubber Gym Flooring Replacement Schedule depends heavily on your ability to source identical components.
This strategy shifts the focus from buying cheap flooring to investing in a sustainable maintenance ecosystem. The initial effort of storing spare tiles pays dividends in reduced long-term costs and preserved facility aesthetics.
Step-by-Step Component Replacement Guide
Replacing individual tiles requires careful preparation to avoid damaging adjacent pieces and ensuring a secure fit.
Many gym owners hesitate to replace single tiles because they fear the process will be disruptive or complex. However, with the right technique, swapping a few tiles can be done quickly and cleanly. The key is to work methodically and respect the interlocking design.
First, clear the area of all equipment and debris. You need unobstructed access to the damaged tiles and their neighbors. Use a utility knife to carefully cut through any adhesive residue if the tiles were glued down, though most commercial interlocking systems are loose-laid. If the tiles are interlocked, start by lifting the corner of the damaged tile. You may need to gently pry up the adjacent tiles to release the tabs. Do not force them, as this can break the connectors on the good tiles. [NEED_CITE: best practices for installing interlocking rubber flooring]
Once the damaged tile is removed, inspect the subfloor. Clean away any dust, rubber granules, or moisture. A dirty subfloor prevents the new tile from sitting flat, leading to future movement and wear. If the subfloor is uneven, consider using a self-leveling compound in that specific spot before proceeding.
Place the new tile into position. Ensure the interlocking tabs align correctly with the neighboring tiles. Press down firmly, starting from the center and moving outward. You may use a rubber mallet to tap the edges gently, ensuring a tight seal. Avoid using excessive force, which can deform the tabs. Finally, walk over the replaced area to test for stability. There should be no movement or clicking sounds.
| Step | Action | Tool Required | Critical Check |
|---|---|---|---|
| 1 | Clear area and remove equipment | N/A | Unobstructed access |
| 2 | Release interlocking tabs | Utility knife, pry bar | No damage to adjacent tiles |
| 3 | Clean subfloor | Vacuum, scraper | Dry and level surface |
| 4 | Insert new tile | Hands, rubber mallet | Correct tab alignment |
| 5 | Secure and test | Rubber mallet | No movement or noise |
Common mistakes include forcing tiles that do not fit, which indicates a mismatch in mold specifications, and ignoring subfloor cleanliness, which leads to premature loosening. By following these steps, you minimize downtime and extend the life of your existing floor. This precision is why having the correct spare parts is non-negotiable in a Rubber Gym Flooring Replacement Schedule.
This process can be performed during off-hours, allowing the gym to remain open during peak times. It transforms a potential crisis into a routine maintenance task.
Extending Lifespan Through Preventive Maintenance
Simple cleaning and inspection routines can significantly delay the need for major replacements by addressing minor issues before they escalate.
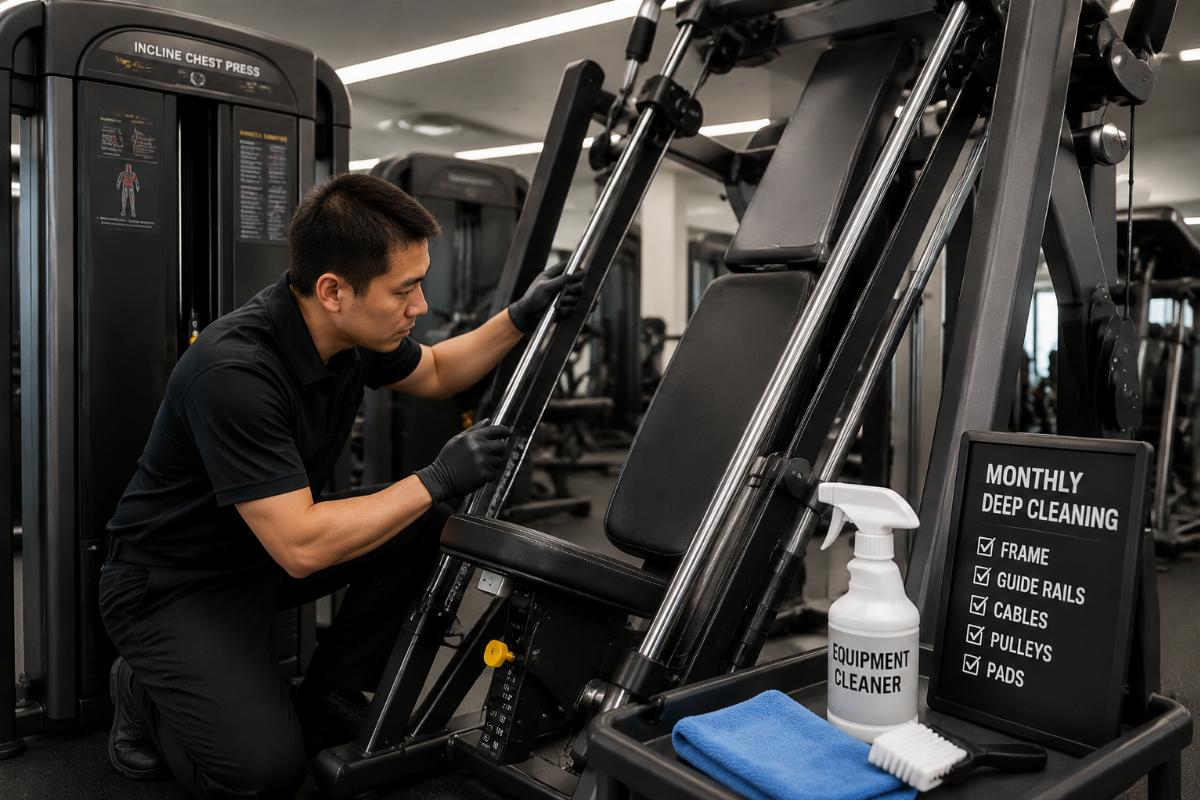
Preventive maintenance is the backbone of any long-term flooring strategy. It is not enough to wait for tiles to fail; you must actively care for them. Regular cleaning removes abrasive dirt and sweat that can degrade the rubber surface and weaken the interlocking bonds. Use a pH-neutral cleaner and avoid harsh chemicals that can break down the rubber binder. [NEED_CITE: chemical compatibility with rubber sports flooring]
Inspect the floor weekly for early signs of wear. Look for tiles that are beginning to curl at the edges or tabs that are losing their grip. Address these issues immediately. A loose tab can be secured with a specialized rubber adhesive if necessary, but prevention is better. Ensure that heavy equipment is placed on protective mats to distribute weight evenly and reduce point-load stress.
In humid climates, monitor the expansion and contraction of the floor. Leave adequate expansion gaps around the perimeter of the room to allow for thermal movement. Without these gaps, the floor can buckle or push against walls, causing damage to both the flooring and the building structure.
| Maintenance Task | Frequency | Purpose | Impact on Lifespan |
|---|---|---|---|
| Deep Cleaning | Weekly | Remove abrasive debris | Substantially extended |
| Visual Inspection | Monthly | Identify early wear | Noticeably reduced repairs |
| Edge Check | Quarterly | Prevent tripping hazards | Robust safety profile |
| Subfloor Moisture Check | Annually | Prevent mold and adhesion loss | Controlled degradation |
By integrating these routines into your facility management plan, you maximize the return on your flooring investment. You avoid the sudden, costly failures that disrupt business and damage reputation. Instead, you maintain a safe, professional environment that supports your members’ fitness goals. This proactive approach is the final piece of a comprehensive Rubber Gym Flooring Replacement Schedule.
Maintenance is not just about cleanliness; it is about preservation. It ensures that when you do need to replace components, it is a planned event, not an emergency.
Conclusion
Strategic component replacement saves money and minimizes downtime compared to full-floor overhauls.
A well-managed Rubber Gym Flooring Replacement Schedule transforms flooring from a recurring expense into a manageable asset. By focusing on high-traffic zones, maintaining original spare stock, and adhering to preventive maintenance routines, facility managers can extend the life of their floors significantly. The key is precision: replacing only what is needed, with exactly the right parts, at the right time. This approach protects your budget, your aesthetic, and your members’ safety.