Low Row Machine Alignment and Calibration Standards | OEM Manufacturer for Sale
A low row machine that "looks straight" is almost never actually straight. Sub-millimeter rail deviations compound over the full stroke length, turning into obvious drag, uneven cable wear, and member complaints that no amount of lubrication can fix.
Low row machine alignment and calibration standards require verified rail parallelism within tight tolerance, pulley groove centering checked by tooling, and cable tension measured against manufacturer spec — not eyeballed. Every unit must be individually gauged before it leaves the factory, because transport vibration and on-site floor unevenness will shift those tolerances again.
I still remember a batch of seated row machines we delivered to a gym chain in Jakarta. Within two weeks, members were complaining about the seat rail catching on one side, and the cables were fraying near the pulley housing. I flew out, pulled the covers, and found the rail parallelism was off by a fraction that looked invisible to the naked eye — but at the end of the stroke, that tiny offset multiplied into a noticeable lateral pull. The pulley grooves were also misaligned just enough to force the cable to ride the edge instead of seating in the center. That single shipment taught me that low row machine alignment and calibration standards are not a "nice to have" — they are the difference between a machine that runs quietly for years and one that generates service calls every quarter. [NEED_CITE: seated row machine maintenance failure root cause distribution per gym equipment service reports]
The rest of this guide walks through the specific checkpoints, the tools that actually work on a shop floor, and the moments when recalibration is non-negotiable.
What Are the Key Alignment Parameters for Low Row Machines?
Rail parallelism, pulley groove centering, and cable tension are the three parameters that determine whether a low row machine feels smooth or grinds through its stroke. Get any one of them wrong, and the others degrade faster because the loads are no longer distributed as designed.
Rail parallelism refers to the consistency of distance between the two seat rails across the entire travel length. If the rails converge or diverge even slightly, the seat carriage will bind at one end. Pulley groove centering ensures the cable runs dead-center in every pulley it passes over; off-center running causes the cable strands to scrape the groove wall, generating heat and premature fatigue. Cable tension, meanwhile, must match the manufacturer’s specified range — too loose and the cable jumps the groove under load, too tight and bearing wear accelerates noticeably. [NEED_CITE: commercial strength equipment alignment tolerance guidelines per EN or ASTM fitness machine safety standards]
These three parameters interact. A cable running off-center in a pulley creates uneven tension distribution, which in turn pulls the seat carriage slightly to one side, accelerating rail wear on that edge. By the time a gym member feels the drag, the damage is already compounding. That is why low row machine alignment and calibration standards treat these three checks as a single system, not isolated items.
| Parameter | What It Controls | Consequence of Deviation |
|---|---|---|
| Rail parallelism | Seat carriage travel smoothness | Binding, lateral drag, uneven rail wear |
| Pulley groove centering | Cable seating and load distribution | Edge wear, strand fatigue, groove damage |
| Cable tension | Groove engagement and bearing load | Cable jump, accelerated bearing wear |
A regional distributor in Southeast Asia once received a container of low row machines where the factory had only checked alignment on a sample basis. Within months, warranty claims for cable replacement and rail adjustment consumed a noticeable portion of the margin on that entire order. The machines themselves were structurally sound — the issue was purely calibration discipline. [NEED_CITE: fitness equipment warranty claim frequency comparison between batch-sampled and fully calibrated units]

How to Check Rail Parallelism on a Seated Row?
Rail parallelism must be measured at multiple points along the full travel, using feeler gauges or a laser alignment tool — never by eye alone. A visual check can miss deviations that are functionally significant at the stroke endpoint.
The principle is straightforward: two parallel rails should maintain identical spacing from the front stop to the rear stop. In practice, thermal expansion during welding, frame stress from transport, and even uneven floor contact can introduce twist or taper. The standard field method is as follows:
- Prepare the machine on a level surface. Use a precision spirit level on the main frame to confirm the base is not rocking. Floor unevenness will skew every subsequent measurement.
- Set a reference gauge block or feeler gauge at the front rail position. Measure the gap between the two rails at the foremost point of travel. Record the value.
- Move the gauge to the mid-stroke position. Repeat the measurement. Compare to the front reading.
- Move the gauge to the rear rail position. Repeat again. The difference between the front, mid, and rear readings reveals any taper or twist.
- If deviation is detected, loosen the rail mounting bolts and adjust. Re-tighten in a cross pattern to avoid introducing new stress, then re-measure.
- Run the seat carriage through the full stroke without load. Listen for scraping or catching. A properly aligned rail should produce no audible friction beyond normal roller contact. [NEED_CITE: rail parallelism measurement procedure per commercial gym equipment maintenance manual]
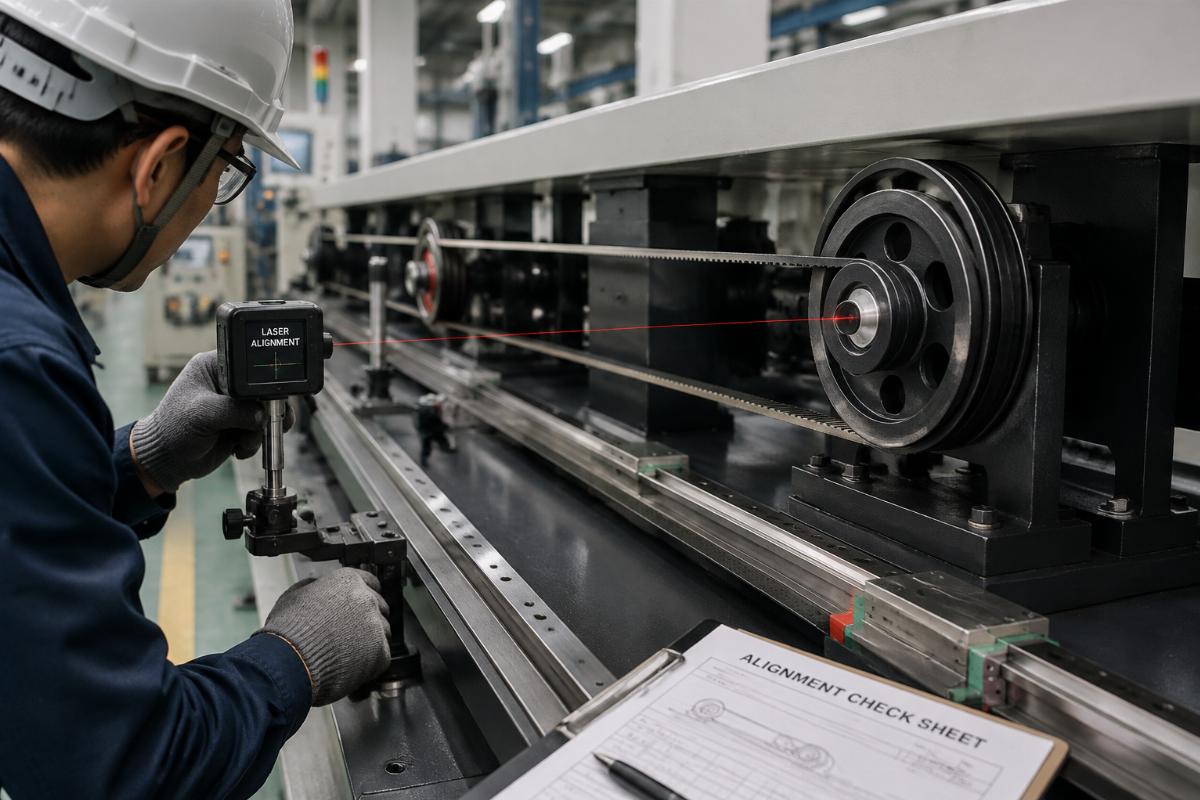
For higher-volume calibration environments, a laser alignment tool mounted at one end of the rail run can project a reference line along the full length, making deviations visible at a glance. This is especially useful when calibrating multiple units of the same model in a production line.
I once inspected a machine where the rails measured within tolerance at the front and middle, but diverged noticeably at the rear. The seat carriage ran fine for the first two-thirds of the stroke, then grabbed hard. To the user, it felt like the machine was "broken" — but the root cause was a fraction of deviation that only manifested at full extension. Low row machine alignment and calibration standards exist precisely because these endpoint errors are invisible until they cause complaints.

How to Calibrate Pulley Alignment and Cable Tension?
Pulley groove centering is verified by the string method or a dedicated alignment tool, and cable tension is confirmed with a tension meter against the manufacturer’s specification. Both steps must be performed with the machine in its installed position, not on a bench.
Pulley misalignment is the single most common cause of premature cable wear in low row machines. When the cable does not sit centered in the pulley groove, the outer strands bear disproportionate load, and the wire rope begins to flatten on one side. Over hundreds of thousands of cycles, this leads to strand breakage well before the cable’s rated life. [NEED_CITE: wire rope fatigue failure mode analysis related to pulley misalignment in fitness equipment]
The field procedure for pulley alignment:
- Thread a thin, non-stretch line (or use a dedicated pulley alignment laser) through the entire cable path. The line should pass through every pulley groove from the weight stack or load source to the handle attachment point.
- Observe where the line contacts each pulley groove. If it touches one edge consistently, that pulley is misaligned.
- Loosen the pulley mounting hardware and adjust. Small shims behind the pulley bracket are often the correct adjustment method — avoid bending the bracket itself, as this introduces stress fractures over time.
- Re-check with the line. All pulleys should show the line running centered in the groove.
- Re-thread the actual cable and cycle the machine under load. Watch the cable seating behavior. It should settle into the groove center within the first few repetitions.
For cable tension:
- Attach a cable tension meter at the midpoint of the exposed cable run. Squeeze the meter according to its instructions to deflect the cable and read the tension value.
- Compare the reading to the manufacturer’s specification range. This range is typically listed in the service manual.
- If tension is outside range, adjust at the cable anchor point. Most low row machines use a threaded barrel adjuster or a clamp-and-bolt system at the weight stack end.
- Re-measure after adjustment. Tension can shift as the cable seats into the pulley grooves under load, so cycle the machine several times and measure again. [NEED_CITE: cable tension measurement and adjustment procedure per strength equipment service manual]
A gym maintenance team in the Middle East reported replacing cables on their low row machines at a rate that seemed abnormal. After we walked through the calibration process with their technician, they discovered the pulleys had shifted during initial installation on an uneven floor. Once the pulleys were re-centered and tension was set to spec, cable replacement intervals extended substantially. Low row machine alignment and calibration standards are not just a factory concern — they must be verified on-site after installation.

When Should Calibration Be Repeated After Installation?
Calibration must be repeated after initial delivery, after any relocation, and at scheduled maintenance intervals — transport and floor settling will shift alignment even on machines that left the factory verified. Treating calibration as a one-time factory activity is the most common mistake gym operators make.
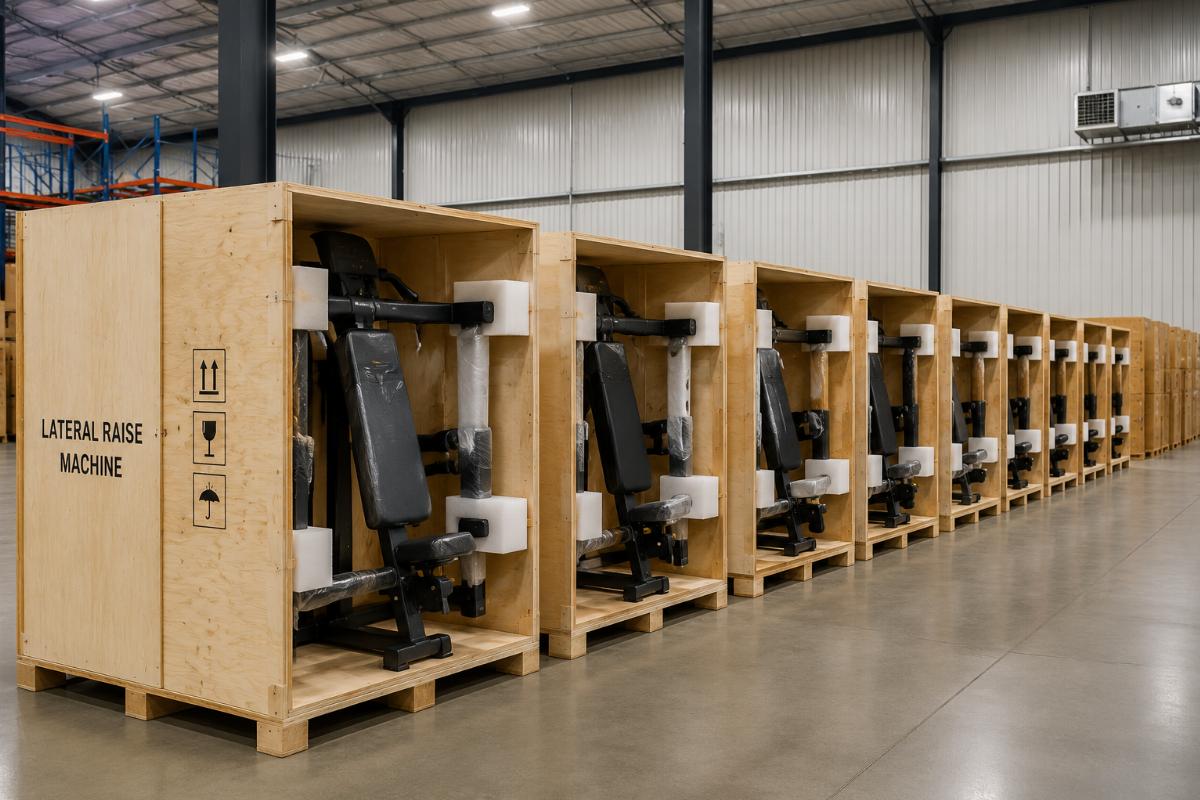
The sequence of events that degrades alignment after delivery is predictable. Machines are loaded onto containers, secured with straps that apply uneven pressure, shipped across oceans where vibration is constant, unloaded with forklifts that can twist the frame if the lift points are not used correctly, and finally placed on floors that are rarely perfectly level. Each step introduces small shifts. Individually, they may be within tolerance. Cumulatively, they push the machine out of spec. [NEED_CITE: fitness equipment installation and post-delivery inspection checklist per industry maintenance guidelines]
The recommended recalibration triggers are:
- After initial delivery and placement. Before the machine is handed over for member use, a full alignment check should be performed on-site. This is non-negotiable for any machine that has been container-shipped.
- After any relocation within the facility. Moving a low row machine even a short distance across the gym floor can shift the frame enough to affect rail parallelism, especially if the new floor position has a different level.
- At scheduled preventive maintenance intervals. Most commercial gym maintenance schedules include quarterly or semi-annual checks. Rail parallelism, pulley centering, and cable tension should be part of that checklist, not an afterthought.
- After any component replacement. If a pulley, cable, or rail carriage is replaced, the entire alignment system must be re-verified. New components have their own tolerances, and stacking them onto a previously adjusted frame changes the geometry.
A large fitness chain operator in Latin America once told me they had stopped ordering from a previous supplier because the after-sales service burden was too high. When we reviewed their maintenance logs, the root cause was clear: the supplier’s low row machine alignment and calibration standards were applied at the factory but never verified on-site. The chain’s own technicians were not trained to perform the checks, so misalignment went undetected until members complained. We provided a field calibration guide and spare parts support, and their service call frequency dropped noticeably within the first quarter. [NEED_CITE: post-installation calibration impact on fitness equipment service call frequency]

Conclusion
Low row machine alignment and calibration standards are not optional — they are the foundation of smooth operation, long cable life, and low maintenance cost. Rail parallelism, pulley groove centering, and cable tension must be verified with proper tools at the factory, re-verified on-site after delivery, and checked again at every scheduled maintenance interval. Machines that leave the factory without individual gauging will generate complaints and warranty claims that far exceed the cost of proper calibration. For gym owners and equipment buyers, insisting on verified calibration is one of the simplest ways to protect long-term operating margins.